Perfect 90 Degree T Formation With Thumbs

As A Result Tension In Guide Arm,Elbow Pointing To Wall

Stylized T Formation With Thumbs

Relaxed Guide Arm Elbow Pointing At Floor

4. Hand Placement: Your hands should not be flat on the ball. It is a misconception that more surface area touching the ball the better control. If your hands are flat on the ball, you will draw the ball back too far to the crown of your head and catapult the ball. Use finger tips and finger pads on both hands. Also your fingers should be spread on both hands. Since we are at the Charity Stripe, let us gain more control over the ball by making sure our index finger is pointing at the air valve, and it is on the seem of the ball.
Finger Pads and Tips On Both Hands Creates A Gap And Better Control

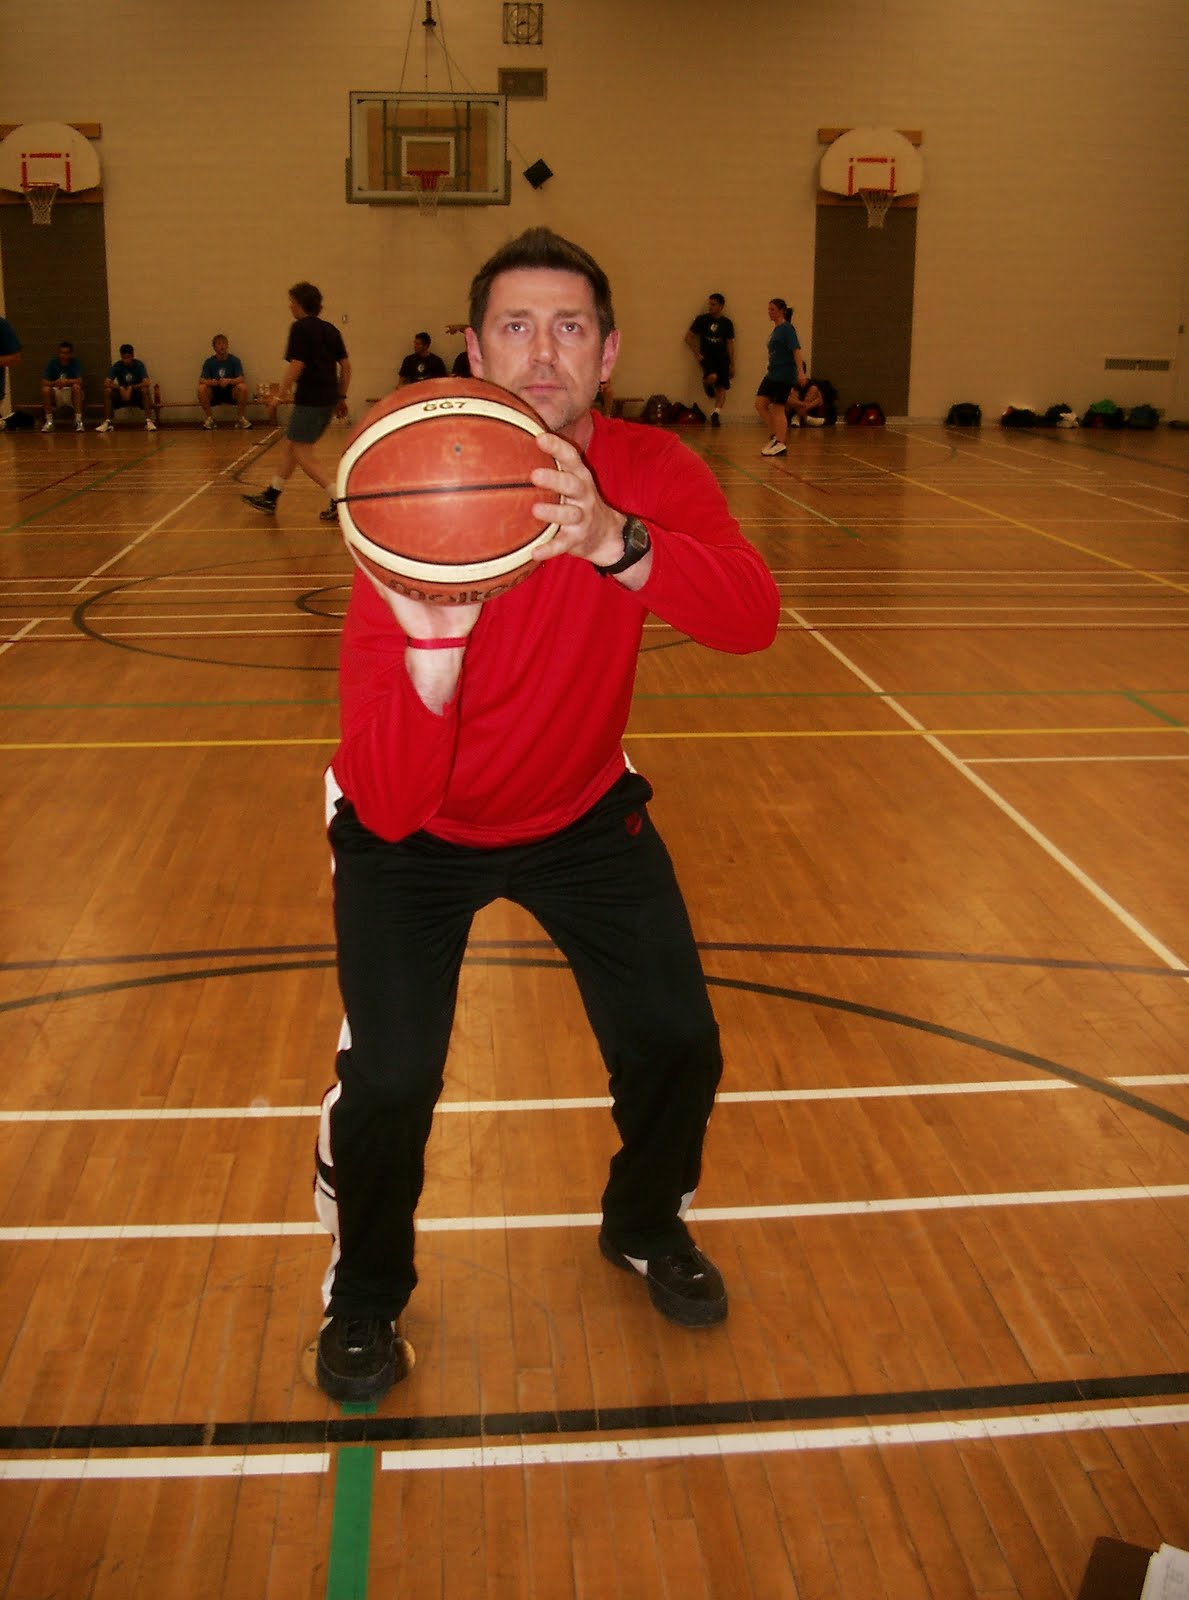
5. Shooting Arm At 90 Degree: And your arm should be in a 90 degree angle. Watch Nash even on a fade-away J, he doesn’t vary from this 90 degree angle. Too much or too little angle will take away from your arc and harden your shot.
At 90 Degrees A Basketball Will Fit Will Fit Between Your Bicep,Forearm And Hand

6. Elbow Over Knee: Your shooting elbow should be over your shooting knee.

7. Wrinkled Wrist: Your wrist should be bent back so the ball can rest in it. Players that start with their wrist as a straight extension of their forearm will tend to bring the ball back to the crown of their head or further in-order to get their wrist parallel to the floor. The result is a catapult shot that is hard and without arc.

8. Shot Pocket: You should have the ball in your shooting pocket and you should leave from your low stance. Don’t go high-to-low-to-high. Go low-to-high. Again we are trying to give lift to the ball with our bodies, and guide the ball in its flight with are arm and hand. To read more about Shot-pockets read Quick Draw Blog.
9. Power Through Both Feet: transferring your weight to the balls of your feet. Not your toes. You want to remain balanced. Don’t jump; just use the up-force from your lower body to lift the ball. The muscles and joints of your lower body are far less complicated that the muscles and joints of your upper body. We want to minimize variables in motion in your shot. We want to make it efficient.

When a player’s stance is too narrow, you will often see them become unbalanced. With girls we see you often get what I call the squirrel tail. Their guide arm will whip out to their side to maintain their balance much like a squirrel’s tail flips from side to side, while they run across a hydro-line. With boys it’s falling forward or backwards from the line. With your stance shoulder width apart and transferring the force from heels to balls of your feet, you will remain balanced.
Exmple Of Squirrel Tail Guide Arm

10. Break 1 not 4: As stated in the Shot Pocket section, we want to shot the ball with our body, and direct it with our arms and hands. We want to eliminate as much motion in our upper bodies as possible. The joints in your shoulder, elbow and hands are more complicated in their motion then knees and hips. Breaking your knuckles can add a 5 degrees change in your shot per knuckle. The motion in the hand should be a flop motion. Your fingers should be spread and pointing towards the rim. If you watch this action in slow motion, when done properly you will notice a slight bounce. The thumb should be tucked under in this motion to send the ball off the peace sign fingers (index and middle fingers). So we break the wrist (one joint), lets call that breaking one. We do not want to point our fingers to the ground. That would be breaking four joints. 5 degrees times * 12) Avoid using terms like “reach in the cookie jar” or goose neck when teaching. Mimicking these actions will have players breaking 4. Back spin rotation; too much too little. Breaking 4 will surely put too much spin on it making shot harder and deflections off the rim lessen the chance of it sitting up softly and dropping through.
Example Of Breaking One
Fingers on both hands remain spread.

Example Of Breaking 4

No comments:
Post a Comment